How to Remove Your Birthday From Facebook
How to Remove Your Birthday From Facebook
After you have installed the Facebook app there is a lot of personal information that is required of you. Facebook lets you share an abundance of personal information. Most of this data is visible to your entire friends’ list by default.
However, Facebook gives you the chance to change the privacy settings for almost everything on your profile. This change includes your birth date. Most of the information once given cannot be deleted from Facebook.
Instead, you are given the opportunity to hide or personalized such information. If there is any information you gave while registering on Facebook and you are uncomfortable, you can hide them. One of such information is birthdays. You can edit your birthday’s privacy settings to hide it from your Timeline. This prevents Facebook from notifying people when it is your birthday. Follow the steps below to keep your birthday private.
PROCEDURE
STEP 1
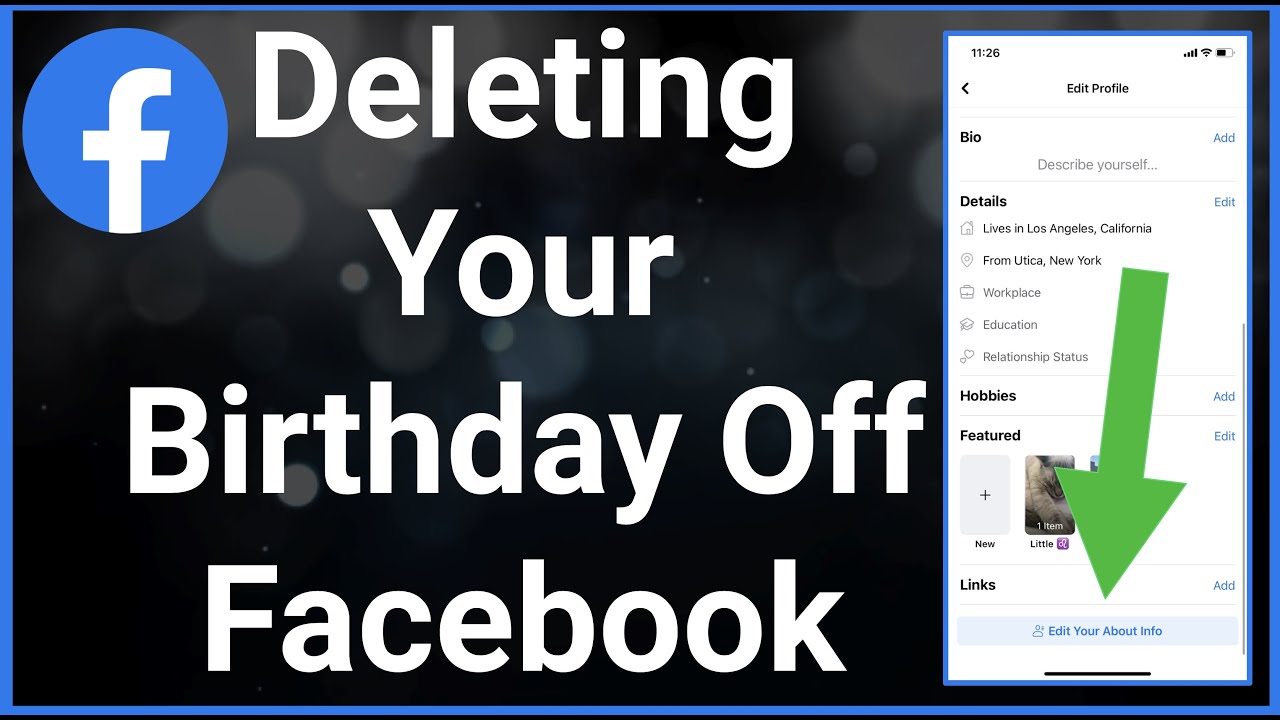
- Log in to Facebook and click your name at the top of the screen. This gives you access to viewing your timeline.
Also, STEP 2
- Click “About” beneath your profile photo.
- Then click the light gray “Edit Profile” button at the top of your profile page.
STEP 3
- Go to the “Basic Information” tab on the left side of the “Edit Profile” page.
Next is STEP 4
- Scroll down to the “Birthday” section of the menu.
- Click on the arrow beneath your birthday, it will show a menu for your birthday’s display options.
STEP 5
- Click the privacy drop-down menu to the far right of your birthday and click “Only Me.”
STEP 6
- Click “Save.”
- This will delete the birthday publicly and make it visible to only you.
OR
- For an alternative way to delete your birthday or make it private, use the steps below;
- To remove your birthday on Facebook.
- You can go to the “Settings” page.
- Click on “Privacy” and then click on “Birthday.”
- You will be able to select a year that is not 2022.
- Click the blue “Save Changes” button at the bottom of the screen.
Also, for More Interesting Articles, CLICK HERE
RELATED SEARCHES
- Top 5 African Countries with the Best Education Systems
- HOW TO GET A UK VISA IN GHANA
- What You Need To Know When Starting A Business
- What You Need To Know When Buying A Car
- How Do I Get Rid Of The White Stuff On My Tongue
- Get Rid Of Vagina Odour Immediately
- HOW TO PREPARE PIZZA FROM THE COMFORT OF YOUR HOME
- HOW DO I KNOW MY BLOOD GROUP
- KNOW WHY YOU SHOULD NOT MARRY PEOPLE WITH CERTAIN BLOOD GROUPS
- How Can I Stop White Discharge and Itching Naturally
- How to stop menstrual pains fast at home
- What Are the Symptoms & Signs of Gonorrhea and Syphilis?
- How can I stop the pain when I urinate?
- How can I stop sperm from coming early?
- Apply for Police Clearance Certificate in Ghana